The Ultimate Creamy New York Cheesecake With Toasted Almond Crust
Creamy New York Cheesecake With Almond Crust Recipe
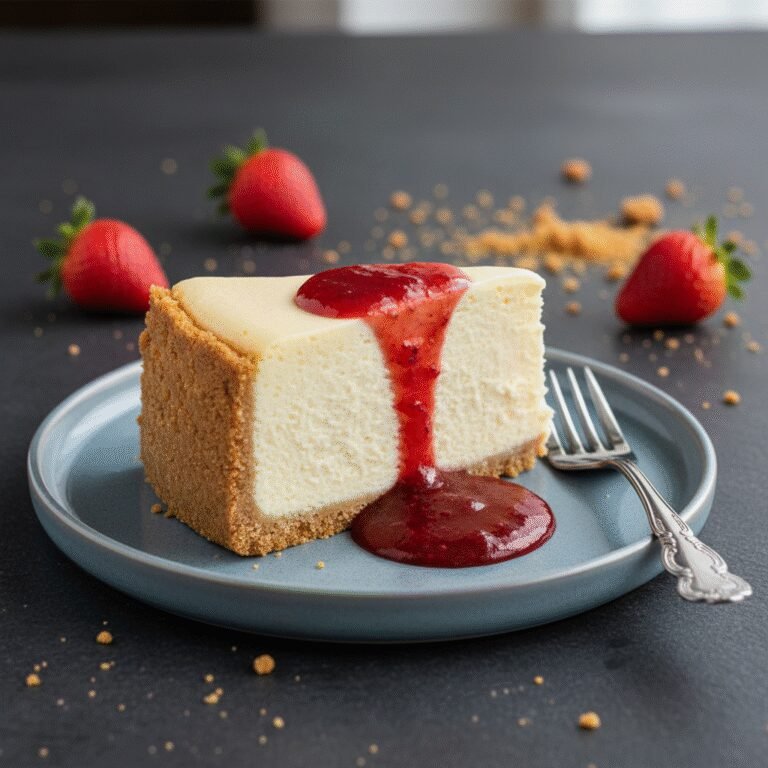
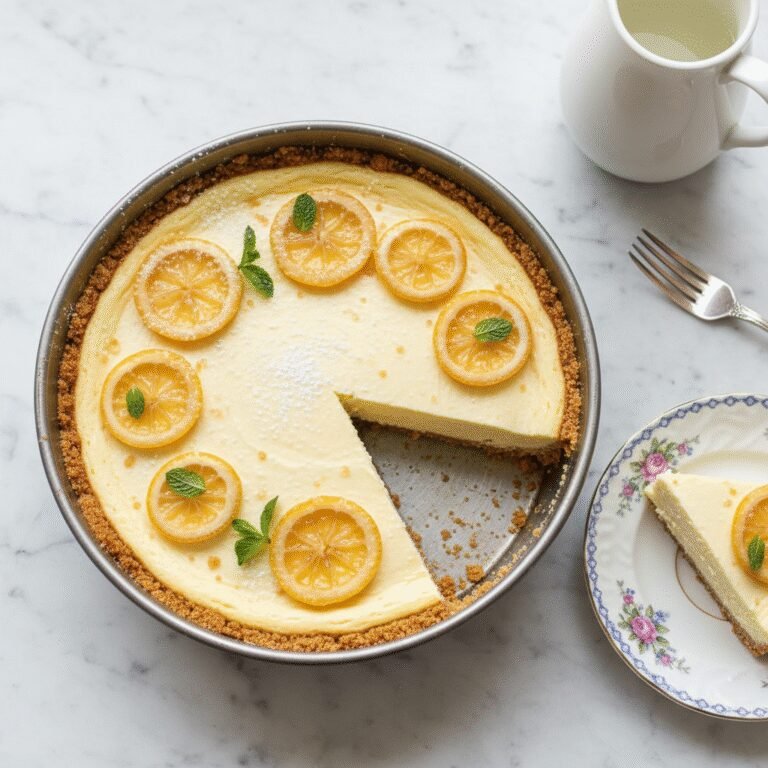
Experience the epitome of dessert luxury with this ultra-creamy New York-style cheesecake, sitting atop a buttery, gluten-free almond crust. This foolproof recipe delivers a tall, dense, and velvety smooth cake without the hassle of a water bath, making it the perfect showstopper for any celebration.
30 minutes
1 hour 15 minutes
8 hours (includes cooling time)
12 servings
Dessert
Baking
American
Gluten-Free
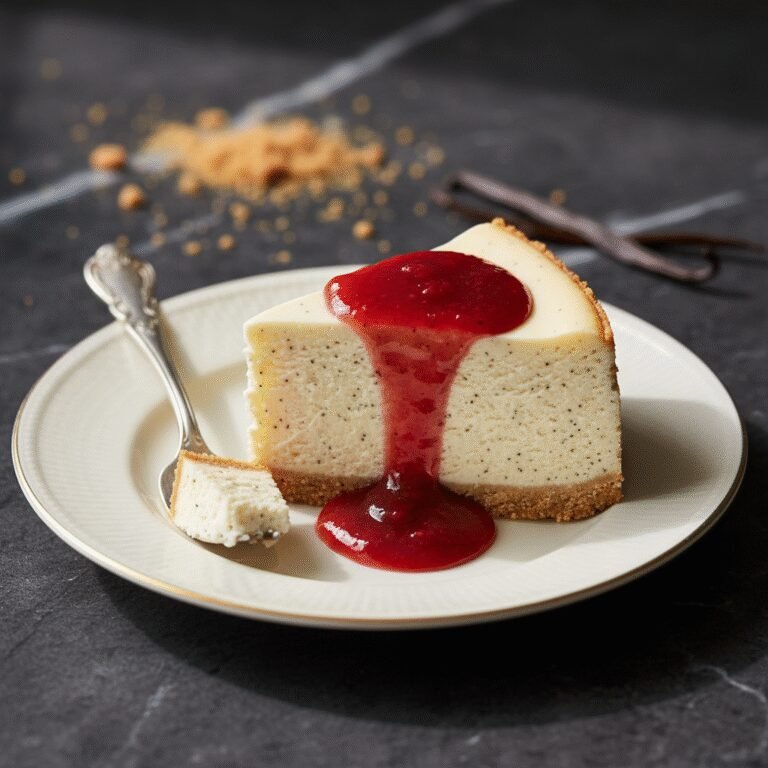
There are few desserts as iconic, intimidating, and ultimately rewarding as a classic New York Cheesecake. Unlike its lighter, fluffier counterparts or the ricotta-based Italian versions, a true New York cheesecake is defined by its sheer density, height, and rich, satin-like texture. It is a dessert that demands attention, sitting proudly on the plate, offering a balance of tang and sweetness that lingers on the palate. In this specific iteration, we are elevating the traditional experience by swapping the standard graham cracker foundation for a toasted almond crust. This modification is not merely a nod to gluten-free dietary needs, though that is a wonderful benefit; rather, it is a culinary choice designed to enhance flavor. The nutty, slightly savory profile of roasted almonds cuts through the intense richness of the cream cheese filling, providing a sophisticated contrast that a sugary cracker crust simply cannot achieve. The filling itself is a labor of love, utilizing a massive amount of full-fat cream cheese, heavy cream, and just enough sour cream to introduce that signature tang which prevents the dessert from becoming cloying. We also employ a slow-cooling method that eliminates the need for a treacherous water bath, ensuring your cheesecake emerges from the oven with a pristine, crack-free surface. Whether you are a seasoned baker or a novice looking to conquer a classic, this recipe breaks down the science of the emulsion, the importance of temperature, and the patience required to achieve the perfect slice. Prepare your kitchen for the aroma of vanilla and toasted nuts, and get ready to serve a dessert that rivals the most famous delis in Manhattan.
History & Origins
The history of cheesecake is a journey that spans thousands of years, long before it became synonymous with the bright lights of New York City. Anthropologists have found cheese molds dating back to 2,000 B.C. in Greece, where cheese was a primary source of energy. The first recorded ‘cheesecake’ was likely served to athletes during the first Olympic Games in 776 B.C. on the Isle of Delos. Known then as ‘plakous,’ it was a simple mixture of flour, wheat, honey, and cheese. As the Romans conquered Greece, they adopted the recipe, adding eggs and baking it under hot bricks, calling it ‘libum.’ It wasn’t until the recipe traveled through Medieval Europe that it began to resemble a tart. However, the New York Cheesecake as we know it owes its existence to a happy accident in 1872. William Lawrence, a dairyman from Chester, New York, was attempting to replicate the French cheese Neufchâtel. Instead, he added too much cream and created a richer, spreadable cheese—what we now know as Philadelphia Cream Cheese. This invention revolutionized the dessert. In the 1920s, Arnold Reuben, the owner of the legendary Turf Restaurant in Manhattan (and the claimant of the Reuben sandwich), is often credited with creating the ‘New York Style’ cheesecake. He experimented with Lawrence’s cream cheese, omitting the curds found in other recipes to create a smoother, denser cake. Competitors like Leo Lindemann of Lindy’s Deli soon followed, solidifying the dense, cream-cheese-heavy cake as a staple of New York dining culture and an American icon.
Why This Recipe Works
This recipe succeeds where many others fail due to a precise balance of fat, protein, and thermal management. First, the almond crust provides a superior moisture barrier compared to wheat flour or graham crackers. Almonds are naturally high in oil, which repels the moisture from the heavy cheese filling, ensuring the crust stays crisp rather than turning soggy after days in the refrigerator. Secondly, the filling formula relies on cornstarch rather than flour. Cornstarch is a pure starch that gelatinizes at a lower temperature and stabilizes the egg proteins, preventing them from shrinking too tightly, which is the primary cause of surface cracks. Furthermore, the inclusion of sour cream is scientifically crucial; its acidity denatures the proteins in the cream cheese slightly, softening the texture and adding the necessary ‘tang’ that cuts through the heavy fat content. Finally, the baking method is designed to mimic a water bath without the mess. By baking at a high temperature for a few minutes to set the crust and then dropping to a low temperature for the duration, followed by a slow cool-down inside the oven with the door cracked, we allow the cake to contract slowly. This gradual temperature shift prevents thermal shock, ensuring a perfectly flat, creamy top without the risk of water leaking into your springform pan.
Why You’ll Love This Recipe
- ✓Gluten-free almond flour crust adds a nutty depth.
- ✓No water bath required due to the slow-cool oven method.
- ✓Dense, rich New York-style texture without being heavy.
- ✓Stable structure that slices cleanly.
- ✓Freezer-friendly for up to two months.
- ✓Balanced tangy and sweet flavor profile.
Equipment You’ll Need
- ✓9-inch Springform Pan
- ✓Stand Mixer or Electric Hand Mixer
- ✓Large Mixing Bowl
- ✓Rubber Spatula
- ✓Measuring Cups and Spoons
- ✓Parchment Paper
- ✓Cooling Rack
Ingredients
- ✓2 cups Almond Flour (super fine)
- ✓1/3 cup Unsalted Butter, melted
- ✓1/4 cup Granulated Sugar (for crust)
- ✓1 tsp Ground Cinnamon
- ✓32 oz (4 blocks) Full-Fat Cream Cheese, room temperature
- ✓1 1/3 cups Granulated Sugar (for filling)
- ✓3 tbsp Cornstarch
- ✓4 large Eggs, room temperature
- ✓2 tsp Vanilla Extract
- ✓1 tsp Fresh Lemon Zest
- ✓1/2 cup Sour Cream, room temperature
- ✓1/2 cup Heavy Cream, room temperature
Instructions
- Preheat your oven to 350°F (175°C). Line the bottom of a 9-inch springform pan with parchment paper and lightly grease the sides.
- In a medium bowl, combine the almond flour, 1/4 cup sugar, cinnamon, and melted butter. Mix until the texture resembles wet sand.
- Press the crumb mixture firmly into the bottom of the prepared pan. Bake for 10 minutes until slightly golden. Remove and let cool completely. Reduce oven temperature to 325°F (163°C).
- In the bowl of a stand mixer fitted with the paddle attachment, beat the cream cheese and 1 1/3 cups sugar on medium-low speed until completely smooth and creamy (about 3-4 minutes). Scrape down the sides and bottom of the bowl often.
- Sift in the cornstarch and mix on low until just combined.
- Add the vanilla extract, lemon zest, sour cream, and heavy cream. Mix on low speed until incorporated.
- Add the eggs one at a time, beating on low speed just until the yellow disappears after each addition. DO NOT overmix, or you will incorporate air bubbles that lead to cracks.
- Pour the batter over the cooled crust. Tap the pan gently on the counter a few times to release any trapped air bubbles.
- Bake at 325°F for 60-70 minutes. The edges should be set and puffed, but the center 2-3 inches should still jiggle like Jell-O when the pan is nudged.
- Turn off the oven and crack the door open about 1 inch (use a wooden spoon to hold it if necessary). Let the cheesecake cool inside the oven for 1 hour.
- Remove from the oven and run a thin knife around the edge of the pan to loosen the cake from the sides (this helps prevent cracking as it shrinks). Cool completely on a wire rack.
- Refrigerate for at least 6 hours, preferably overnight, before removing the springform ring and serving.
Expert Cooking Tips
- ✓Room temperature ingredients are non-negotiable; cold cream cheese causes lumps.
- ✓Use full-fat block cream cheese, not the spreadable kind in tubs.
- ✓Avoid overmixing the batter once the eggs are added to prevent air bubbles.
- ✓Do not open the oven door during the first 45 minutes of baking.
- ✓Grease the sides of the pan well so the cake can pull away as it cools.
- ✓Use a flat-bottomed glass to press the crust down evenly.
- ✓Clean your knife with hot water and wipe dry between every single slice for a professional look.
Substitutions and Variations
This recipe is versatile enough to handle several substitutions while maintaining its integrity. For the crust, if you are not strictly gluten-free, you can substitute the almond flour with an equal volume of crushed graham crackers or digestive biscuits; simply omit the cinnamon if desired. For a different nut profile, pecan meal or hazelnut flour works beautifully. Regarding the filling, sour cream can be replaced with full-fat Greek yogurt for a slightly tangier bite and a boost of protein. If you are out of heavy cream, you can use all sour cream, though the texture will be slightly less silky. Do not substitute the cornstarch with flour if you want to keep it gluten-free; however, arrowroot powder is a viable alternative for cornstarch. For a sugar-free or keto version, you can use a granular erythritol or monk fruit sweetener 1:1 for the sugar, but be aware that the cooling sensation of some sweeteners might be noticeable.
Common Mistakes to Avoid
The most common mistake when making cheesecake is impatience with temperature. Using cold ingredients will result in a lumpy batter that never becomes smooth. To fix this, you must let the cream cheese sit out for at least 4 hours. Another major error is overmixing the batter after adding the eggs. This incorporates air, which expands in the heat and then collapses, causing the dreaded surface cracks. Mixing on low speed is essential. Opening the oven door too early is another pitfall; the sudden rush of cold air can cause the center to sink. Finally, rushing the cooling process by putting a warm cheesecake directly into the fridge will cause condensation to form on the surface, making it soggy, and the rapid temperature drop will almost certainly fracture the top.
Serving Suggestions
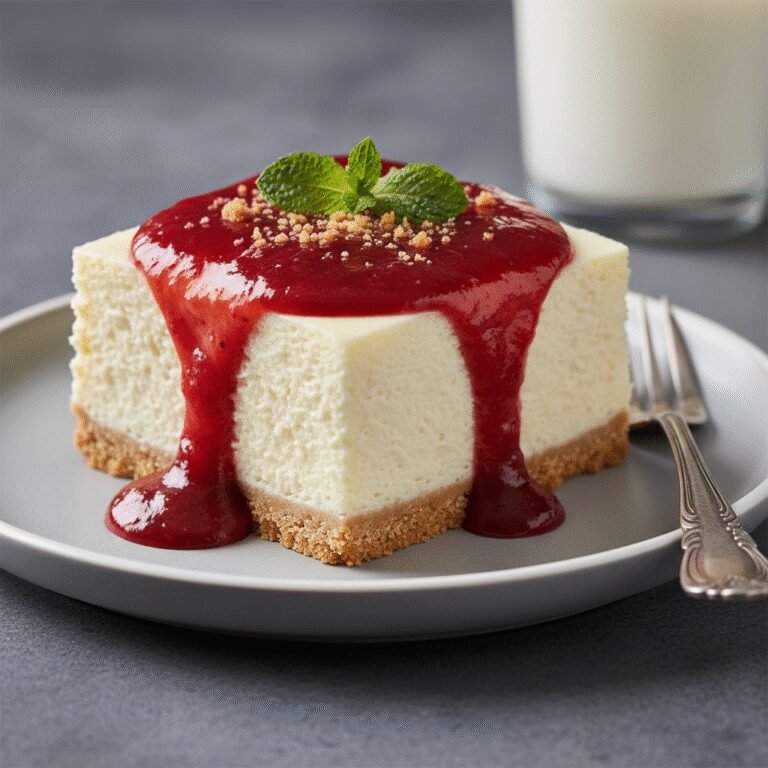
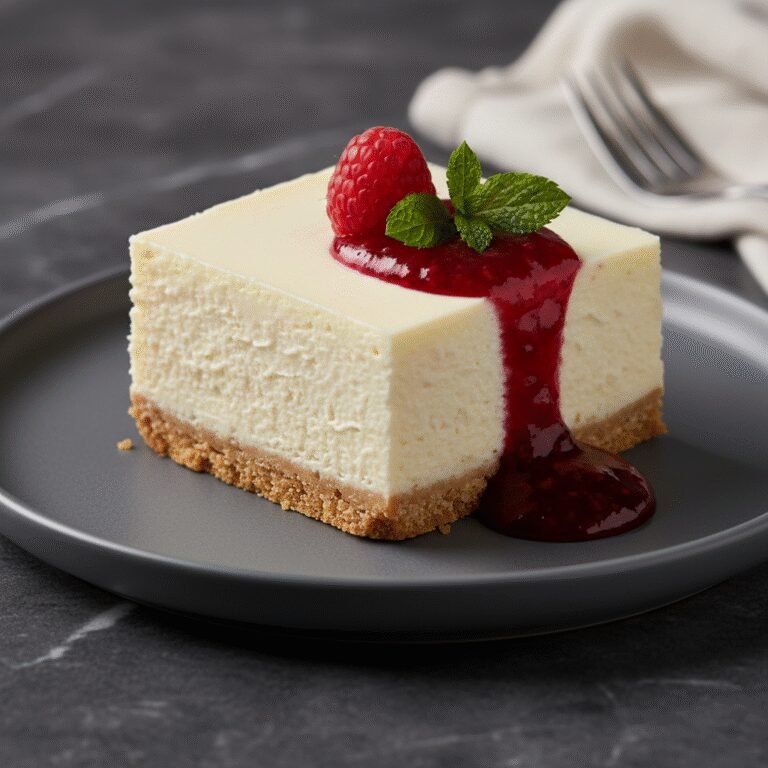
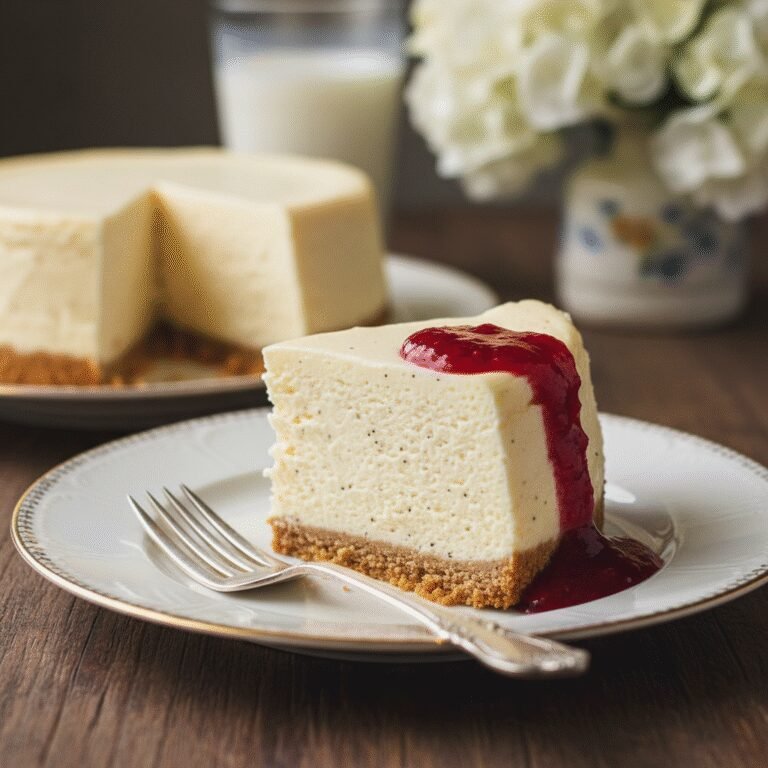
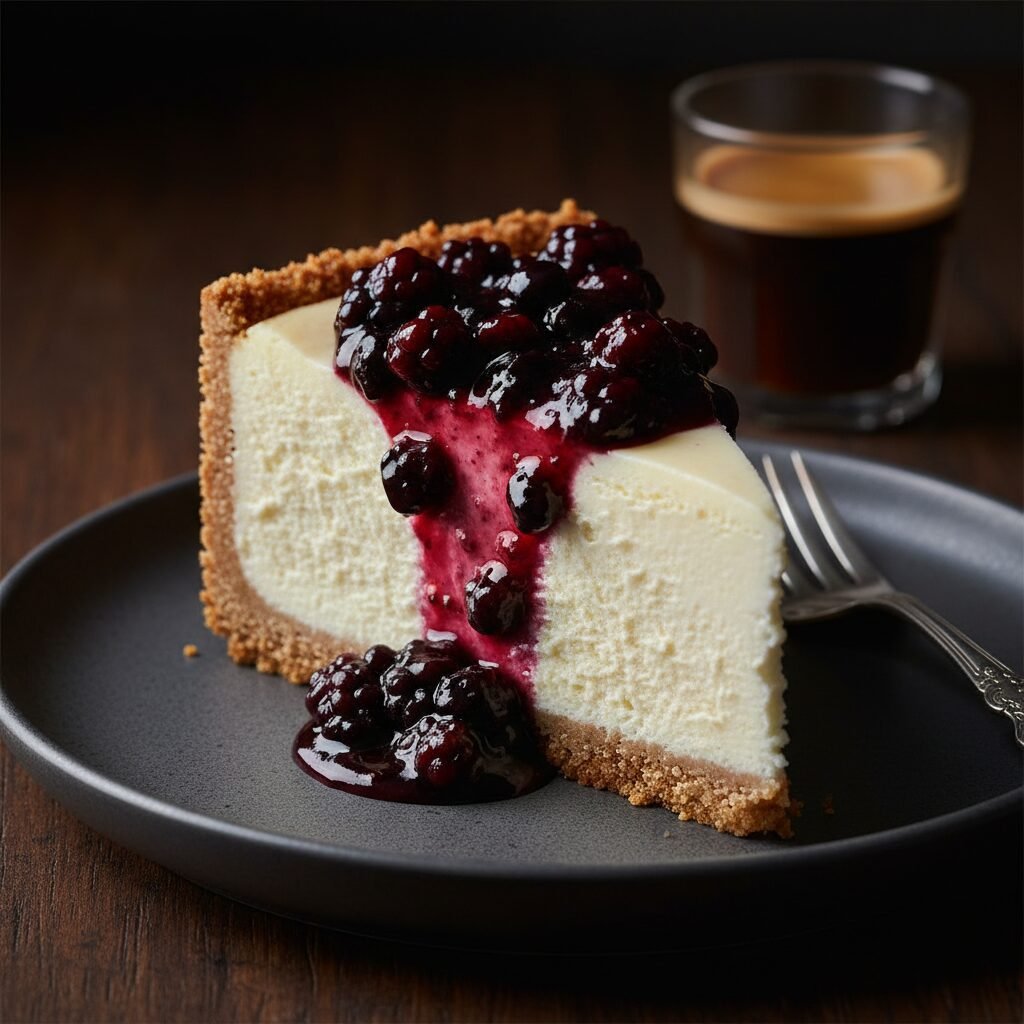
This rich cheesecake is a blank canvas for a variety of toppings. A classic fresh berry compote—made by simmering strawberries or raspberries with a touch of sugar and lemon juice—cuts through the richness perfectly. For a decadent twist, drizzle with warm salted caramel sauce or a dark chocolate ganache. Fresh whipped cream and a sprig of mint offer a lighter, refreshing finish. If serving in autumn, sautéed cinnamon apples make for a cozy, warming topping. Serve the cheesecake chilled, but let the slices sit at room temperature for 15-20 minutes before eating to maximize the creamy texture and flavor.
Storage and Reheating Tips
To store the cheesecake, ensure it has cooled completely. If it is still in the pan, cover it tightly with plastic wrap or aluminum foil, ensuring the wrap doesn’t touch the surface of the cake to avoid marring the finish. It will keep in the refrigerator for up to 5 days. For longer storage, cheesecake freezes exceptionally well. Slice the cake and wrap each slice individually in plastic wrap, followed by a layer of foil. Place the wrapped slices in a freezer-safe bag. They can be frozen for up to 2 months. To thaw, place the slices in the refrigerator overnight. Do not microwave to thaw, as the texture will melt and separate.
Nutrition Facts (Estimated)
| Serving Size | 1 Slice |
| Calories | 520 |
| Fat | 42g |
| Saturated Fat | 22g |
| Unsaturated Fat | 18g |
| Trans Fat | 0g |
| Cholesterol | 145mg |
| Sodium | 310mg |
| Carbohydrates | 34g |
| Fiber | 3g |
| Sugar | 28g |
| Protein | 10g |
Frequently Asked Questions
Why did my cheesecake crack?
Cracks are usually caused by overmixing the eggs (adding too much air) or cooling the cake too quickly. The slow-cool oven method helps prevent this.
Can I use low-fat cream cheese?
It is not recommended. Low-fat cream cheese has higher water content and stabilizers that can affect the setting ability and creamy texture of the cake.
How do I know when it is done baking?
Perform the ‘jiggle test.’ Gently nudge the pan. The edges should be set and firm, but the center 2-3 inches should wobble slightly like gelatin. It will finish setting as it cools.
Do I really need to wait overnight to eat it?
Yes. Cheesecake needs time for the structure to firm up. Cutting into it while warm or even just cool will result in a runny, unstable slice.
Can I make this recipe without a stand mixer?
Absolutely. An electric hand mixer works perfectly. You can even do it by hand with a whisk and strong arm, but ensure you don’t leave any lumps.
Is this recipe keto-friendly?
The crust is low-carb due to the almond flour. If you swap the sugar for a keto-friendly sweetener like monk fruit or erythritol, the recipe becomes keto-friendly.
Why use almond flour instead of graham crackers?
Almond flour adds a superior nutty flavor, keeps the crust crispier due to natural oils, and makes the dessert naturally gluten-free.
Can I add flavors to the batter?
Yes! You can swirl in fruit jams, melted chocolate, or caramel before baking, or add different extracts like almond or lemon.
Conclusion
Mastering the New York Cheesecake is a milestone for any home baker, and with this almond-crust variation, you elevate a classic into something truly sophisticated. The combination of the toasted, nutty base with the impossibly creamy, tangy filling creates a dessert experience that is both comforting and elegant. By following the tips on temperature and patience, you are guaranteed a bakery-quality result that requires no water bath and no stress. Whether for a holiday dinner, a birthday, or just a Tuesday treat, this cheesecake promises to be the highlight of the table. Enjoy the process, and savor every rich, delicious bite.