The Ultimate Tall Rainbow Layer Cake With Dark Chocolate Drip Ganache
Tall Rainbow Layer Cake With Drip Ganache Recipe
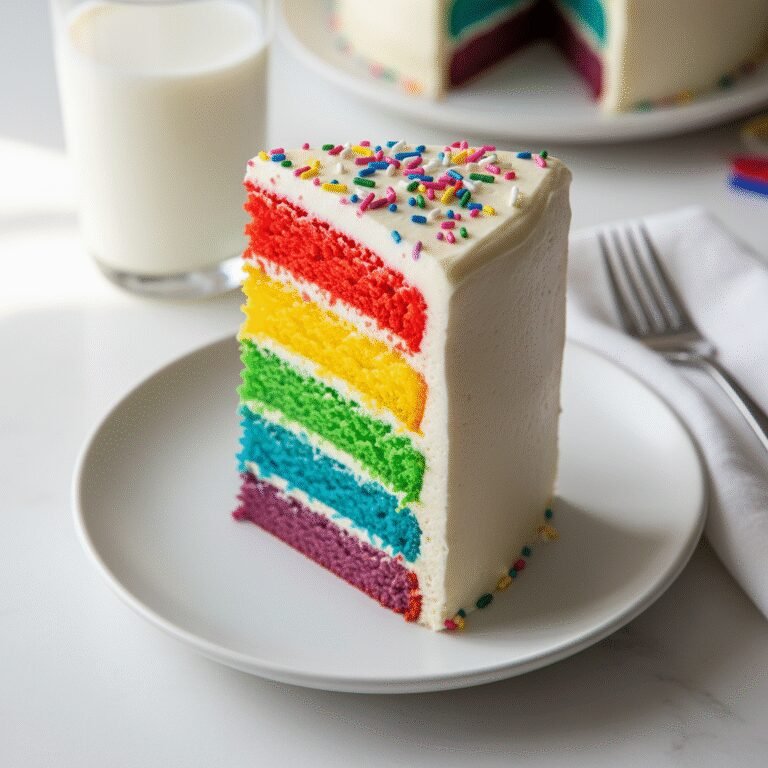
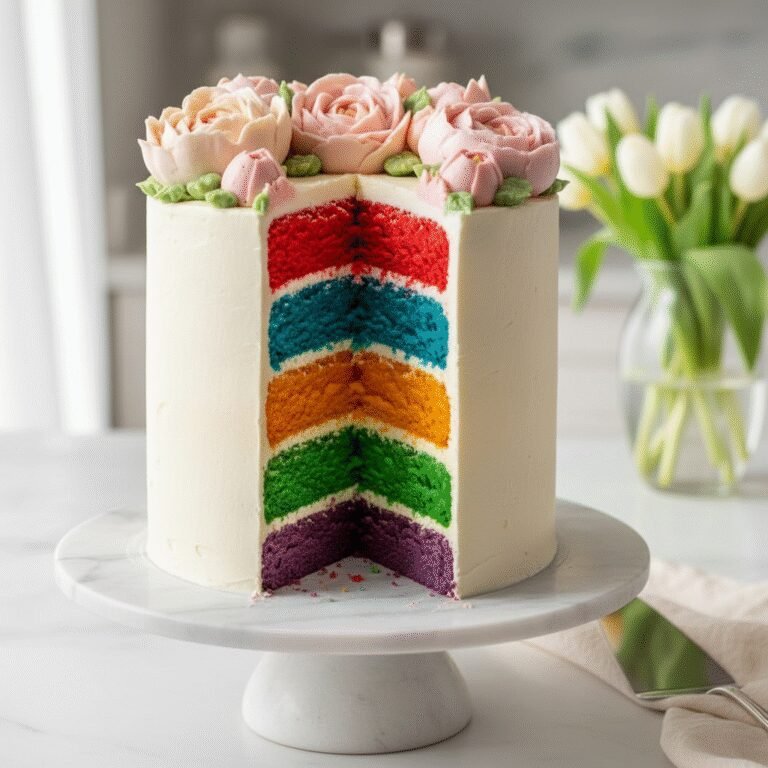
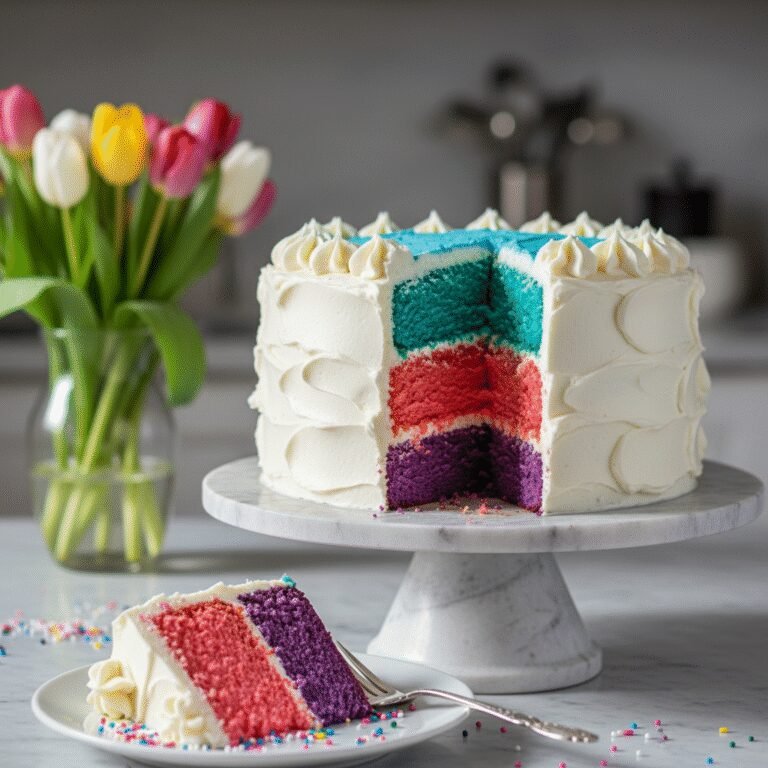
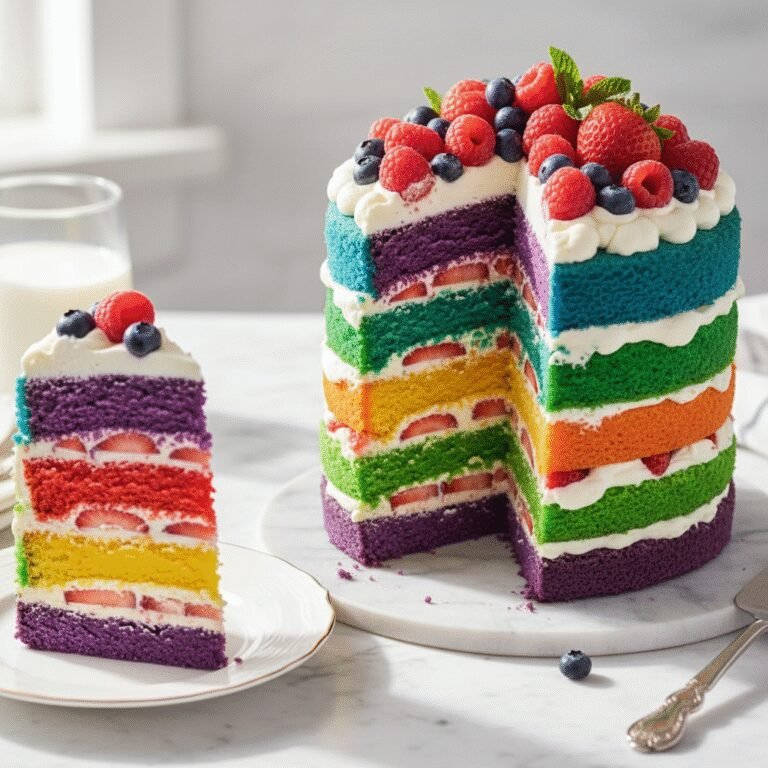
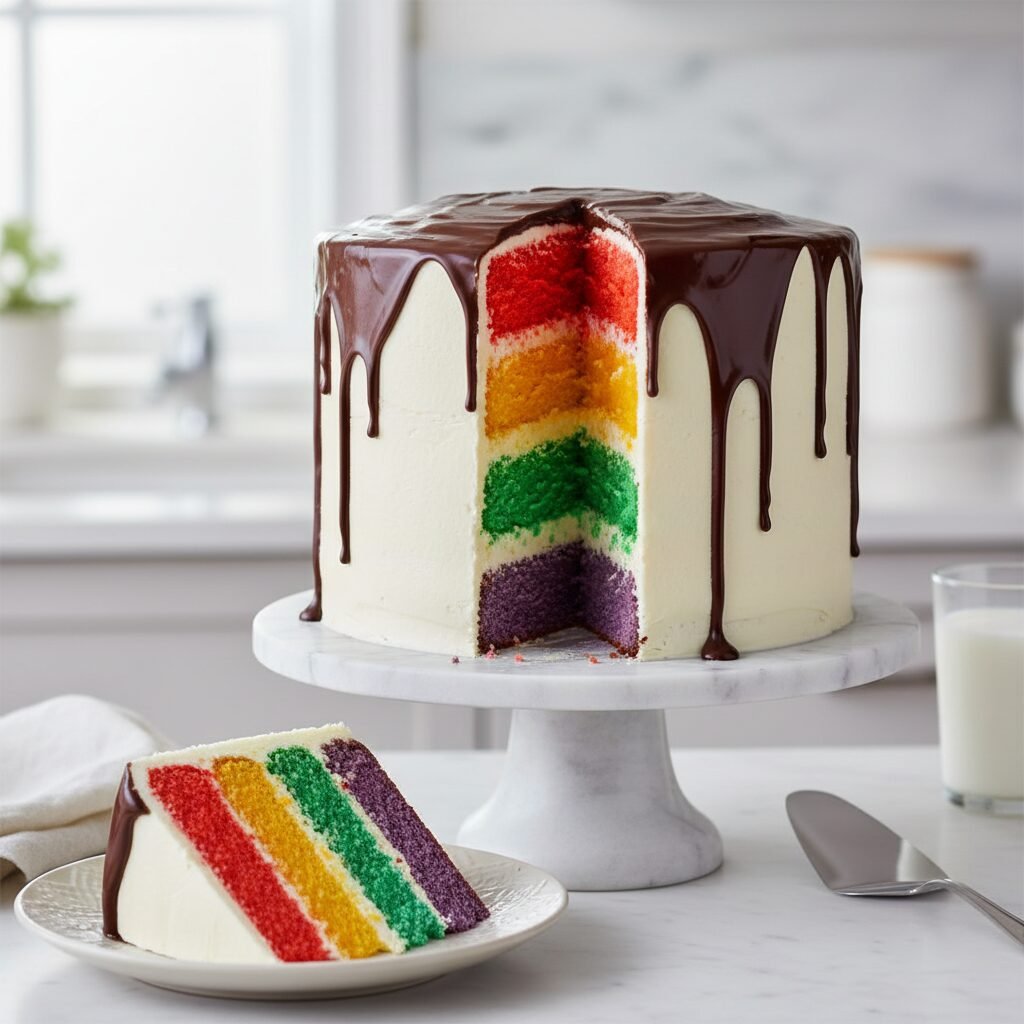
This show-stopping Tall Rainbow Layer Cake features six vibrant, moist layers of vanilla bean sponge coated in silky Swiss Meringue Buttercream. Finished with a decadent dark chocolate ganache drip, it is the perfect centerpiece for birthdays and celebrations that demands a ‘wow’ from every guest.
1 hour 30 minutes
45 minutes
4 hours
16-20 servings
Dessert
Baking
American
Vegetarian
There are few desserts in the world that command attention quite like a towering, six-layer rainbow cake. It is the quintessential celebration confection, a dessert that promises joy before you even take the first bite. But let’s be honest: we have all had ‘pretty’ cakes that taste like nothing more than sugary cardboard. That is where this recipe changes the game. This isn’t just an exercise in aesthetics; it is a culinary masterpiece designed to taste as incredible as it looks. We start with a high-ratio vanilla bean cake base that utilizes egg whites and sour cream to ensure a crumb that is tender, moist, and white enough to take on vibrant gel colors without becoming muddy.
The structural integrity of a tall cake is paramount. A six-layer stack requires a sponge that is sturdy enough to hold its own weight but soft enough to melt in your mouth. We pair this with a classic Swiss Meringue Buttercream—a frosting that is far superior to American buttercream for this application because it is less sweet, incredibly smooth, and creates the perfect canvas for a sharp finish. To cap it all off, a glossy, rich dark chocolate ganache drip adds a sophisticated bitterness that cuts through the sweetness of the cake and frosting, providing a flavor balance that keeps you coming back for another forkful. Whether you are baking for a child’s birthday, a Pride celebration, or simply to bring a little technicolor magic into your kitchen, this recipe is your comprehensive guide to achieving bakery-quality results at home.
History & Origins
The concept of multi-colored layered cakes has deep roots in baking history, evolving significantly over the last century. While the modern ‘Rainbow Cake’ exploded in popularity around 2010, its ancestors can be traced back to the 19th century. One of the earliest iterations was the ‘Harlequin Cake’ or ‘Ribbon Cake,’ popular in the American South. These cakes typically featured three or four layers, often colored pink, yellow, and green using natural vegetable dyes or early artificial colorings. They were a staple at church picnics and fairs, representing a whimsical departure from the standard yellow or chocolate cakes of the era.
However, the specific six-layer, vibrant rainbow cake we know today owes much of its viral fame to the blogging era. In 2009, a blogger named Kaitlin Flannery of ‘Whisk Kid’ posted a photo of a stunningly precise rainbow cake. The image caught the eye of Martha Stewart, and in 2010, Kaitlin appeared on ‘The Martha Stewart Show’ to demonstrate the recipe. That moment was a catalyst. Suddenly, the rainbow cake was everywhere—from home kitchens to high-end bakeries. It became a symbol of joy and inclusivity. In parallel, the ‘drip cake’ trend, popularized by Australian baker Katherine Sabbath around 2015, revolutionized cake decorating. By combining the nostalgic, vibrant layers of the Whisk Kid era with the modern, edgy aesthetic of the chocolate drip, this recipe represents the culmination of over a decade of cake decorating evolution, blending structural ambition with playful artistry.
Why This Recipe Works
This recipe succeeds where many others fail due to three critical factors: the ‘reverse creaming’ method, the use of gel food coloring, and the stability of Swiss Meringue Buttercream. First, we utilize a modified reverse creaming method (mixing fat into dry ingredients before adding liquids) for the sponge. This coats the flour proteins in fat, inhibiting gluten formation. The result is a velvety, plush crumb that stays flat on top—minimizing the amount of cake you have to trim off to get level layers. This is crucial for a tall cake; you need flat, stackable discs, not domed muffins.
Secondly, the recipe strictly calls for high-quality gel food coloring rather than liquid drops. Liquid food coloring contains a significant amount of water, which can alter the chemistry of your batter, leading to a dense or rubbery texture if you add enough to get bright colors. Gel paste provides intense saturation with a tiny volume, keeping the batter’s moisture ratio intact. Finally, the Swiss Meringue Buttercream acts as the perfect ‘cement.’ Unlike American buttercream, which can crust over and become brittle or feel gritty, Swiss Meringue stays silky and sets firm when chilled. This allows you to achieve those razor-sharp edges and provides a stable surface for the warm ganache drip, preventing the chocolate from melting the frosting underneath.
Why You’ll Love This Recipe
- ✓Six distinct, vibrant layers of moist vanilla bean sponge.
- ✓Silky, not-too-sweet Swiss Meringue Buttercream frosting.
- ✓Foolproof dark chocolate ganache drip technique.
- ✓Sturdy structure suitable for tall stacking.
- ✓Detailed instructions for achieving perfect, sharp edges.
Equipment You’ll Need
- ✓Three 8-inch round cake pans (you will bake in batches)
- ✓Stand mixer with paddle and whisk attachments
- ✓Kitchen scale (essential for even layers)
- ✓Gel food coloring (Red, Orange, Yellow, Green, Blue, Purple)
- ✓Cake turntable
- ✓Offset spatula
- ✓Bench scraper
- ✓Squeeze bottle or teaspoon for dripping
- ✓Wire cooling racks
- ✓Parchment paper
Ingredients
- ✓3 cups (360g) cake flour, sifted
- ✓2 1/2 cups (500g) granulated sugar
- ✓1 tbsp baking powder
- ✓1/2 tsp salt
- ✓1 cup (226g) unsalted butter, room temperature, cubed
- ✓1 cup (240ml) whole milk, room temperature
- ✓1/2 cup (120g) sour cream, room temperature
- ✓5 large egg whites, room temperature
- ✓1 tbsp pure vanilla bean paste
- ✓Gel food coloring (Red, Orange, Yellow, Green, Blue, Purple)
- ✓1 1/2 cups (300g) granulated sugar (for buttercream)
- ✓6 large egg whites (for buttercream)
- ✓2 cups (452g) unsalted butter, cool room temperature (for buttercream)
- ✓1 tsp vanilla extract (for buttercream)
- ✓1/2 cup (85g) dark chocolate chips or chopped chocolate (60% cocoa)
- ✓1/3 cup (80ml) heavy cream
Instructions
- 1. Preheat oven to 350°F (175°C). Grease three 8-inch cake pans, line bottoms with parchment paper, and grease the paper. You will bake in two batches if you don’t have six pans.
- 2. In the bowl of a stand mixer fitted with the paddle attachment, combine flour, sugar, baking powder, and salt. Mix on low speed for 30 seconds to combine.
- 3. Add the cubed room-temperature butter and mix on low speed until the mixture resembles damp sand and no large chunks of butter remain.
- 4. In a separate jug, whisk together the milk, sour cream, egg whites, and vanilla bean paste.
- 5. With the mixer on low, slowly pour in half of the wet ingredients. Increase speed to medium and beat for 2 minutes to build structure. Scrape down the bowl.
- 6. Add the remaining wet ingredients in two additions, mixing on low for 30 seconds after each. Do not overmix.
- 7. Weigh the total batter and divide it evenly into six small bowls. Tint each bowl with gel food coloring to create your rainbow spectrum (Red, Orange, Yellow, Green, Blue, Purple).
- 8. Pour batter into prepared pans. Bake for 18-22 minutes, or until a toothpick inserted into the center comes out clean. Do not overbake to keep colors vibrant.
- 9. Cool in pans for 10 minutes, then turn out onto wire racks to cool completely.
- 10. While cakes cool, make the buttercream: Whisk egg whites and sugar in a heatproof bowl over a pot of simmering water until sugar dissolves and temp reaches 160°F.
- 11. Transfer to stand mixer with whisk attachment. Whip on high until stiff peaks form and bowl is cool to the touch (about 10-15 mins).
- 12. Switch to paddle attachment. Add butter one cube at a time on medium speed. Mix until silky smooth. Add vanilla.
- 13. Assembly: Level the cake tops if necessary. Place the purple layer on a cake board. Spread a layer of buttercream. Repeat with Blue, Green, Yellow, Orange, and Red on top.
- 14. Apply a thin crumb coat of frosting over the entire cake. Chill for 30 minutes.
- 15. Apply the final thick coat of buttercream. Smooth with a bench scraper for sharp edges. Chill cake for at least 30 minutes before dripping.
- 16. Make Ganache: Heat heavy cream until steaming (do not boil). Pour over chocolate chips. Let sit for 5 minutes, then stir until glossy and smooth. Let cool slightly until it reaches a pourable but thick consistency.
- 17. Using a spoon or squeeze bottle, drip ganache around the edges of the cold cake, then fill in the center. Smooth top with an offset spatula.
- 18. Garnish with sprinkles or piped swirls if desired. Serve at room temperature.
Expert Cooking Tips
- ✓Weigh your batter to ensure exactly even layers; this makes the slice look professional.
- ✓Use ‘no-taste’ red gel coloring to avoid a bitter aftertaste in the red layer.
- ✓Ensure your butter is truly at room temperature for the batter, but slightly cool for the buttercream to prevent it from becoming soupy.
- ✓Chill the cake thoroughly before applying the drip; a cold cake stops the warm ganache from running all the way to the bottom.
- ✓If your buttercream curdles, keep whipping! It will eventually come back together.
- ✓Tap your cake pans on the counter before baking to release large air bubbles.
- ✓Use a heated metal bench scraper (run under hot water and dried) for the final smoothing pass on the frosting.
Substitutions and Variations
If you do not have cake flour, you can make a substitute by measuring 1 cup of all-purpose flour, removing 2 tablespoons, and replacing them with 2 tablespoons of cornstarch. Sift this mixture twice before using. For the sour cream, full-fat Greek yogurt is an excellent 1:1 substitution that maintains the moisture content. If you prefer a different frosting, an American Buttercream or Italian Meringue Buttercream works well, though Swiss Meringue is preferred for its balance. For the ganache, you can use semi-sweet or milk chocolate, but adjust the cream ratio; milk chocolate requires less cream (about 1/4 cup) to achieve the right drip consistency. Vegans can substitute flax eggs, plant-based butter, and dairy-free milk/cream, though the structural integrity of a six-layer cake is harder to maintain with gluten-free or vegan variations without specialized gums.
Common Mistakes to Avoid
The most common mistake is over-mixing the batter after adding the liquid. This develops gluten and results in a tough, chewy cake rather than a tender one. Another frequent error is adding the ganache when it is too hot. If the ganache is hot, it will melt the buttercream and run straight off the cake board, ruining the aesthetic. Test a single drip on the back of the cake first to check consistency. Additionally, failing to level the cakes perfectly will result in a ‘Leaning Tower of Pisa’ effect. Use a serrated knife or a cake leveler to ensure every layer is perfectly flat. Finally, cheap liquid food coloring will not yield the vibrant colors seen in photos; it will result in pastels. You must use high-concentration gel paste.
Serving Suggestions
This cake is a massive centerpiece, so slice it thinly! A standard wedge is often too much for one person given the height. Use a long, sharp chef’s knife run under hot water and wiped dry between cuts for clean, distinct layers. Serve with a side of lightly whipped unsweetened cream or fresh berries (raspberries or strawberries) to cut through the richness of the cake and ganache. It pairs beautifully with a dark roast coffee or a glass of cold milk.
Storage and Reheating Tips
The cake can be stored at room temperature in a cake keeper for up to 2 days. The sugar and fat content act as preservatives. If you need to keep it longer, refrigerate it for up to 5 days, but allow it to come to room temperature for at least 2-3 hours before serving, as butter-based cakes solidify in the fridge and will taste dry if eaten cold. You can also freeze individual slices wrapped tightly in plastic wrap and foil for up to 2 months. Thaw in the fridge overnight.
Nutrition Facts (Estimated)
| Serving Size | 1 slice |
| Calories | 750 |
| Fat | 38g |
| Saturated Fat | 22g |
| Unsaturated Fat | 14g |
| Trans Fat | 0.5g |
| Cholesterol | 110mg |
| Sodium | 320mg |
| Carbohydrates | 95g |
| Fiber | 2g |
| Sugar | 65g |
| Protein | 8g |
Frequently Asked Questions
Can I make the cake layers ahead of time?
Absolutely. Wrap the cooled cake layers tightly in plastic wrap (two layers) and freeze them for up to a month. Assemble the cake while the layers are still frozen; they are easier to handle and frost.
Why did my colors turn brown?
This usually happens if the cakes brown too much in the oven. To prevent this, do not overbake, and consider using ‘cake strips’ (wet fabric strips wrapped around the pan) to ensure even baking without dark edges.
Do I really need a stand mixer?
For the Swiss Meringue Buttercream, a stand mixer is highly recommended because it requires whipping for a long time (10+ minutes). A hand mixer can work, but your arm will get very tired.
My ganache is too thick to drip. What do I do?
If the ganache has cooled too much, microwave it for 5-10 seconds and stir. If it is still too thick, stir in a teaspoon of warm heavy cream at a time until you reach the desired consistency.
Can I use egg whites from a carton?
For the cake batter, yes. For the Swiss Meringue Buttercream, it is risky. Pasteurized carton egg whites often don’t whip up to the same volume or stability as fresh egg whites due to the processing.
How do I get the sides so smooth?
The secret is a ‘crumb coat’ (a thin first layer of frosting to trap crumbs), chilling the cake, and then applying a thick final coat. Use a metal bench scraper and a turntable to smooth it out.
Can I make this a 3-layer cake instead?
Yes, you can simply divide the batter into three bowls instead of six and marble the colors, or just make three thicker layers. You will need to increase the baking time to roughly 30-35 minutes.
What if I don’t have 8-inch pans?
You can use 9-inch pans, but the layers will be thinner and bake faster (check at 15 minutes). You will end up with a wider, shorter cake.
Conclusion
Creating this Tall Rainbow Layer Cake with Drip Ganache is definitely a labor of love, but the reaction you will get when you slice into it is worth every minute of effort. It is a baking project that builds confidence—mastering the reverse creaming method, the Swiss meringue buttercream, and the drip technique elevates your skills from home baker to semi-pro pastry artist. Remember, baking is about patience and precision. Don’t rush the cooling steps, and have fun with the colors! Whether it’s a gloomy Tuesday that needs brightening or a milestone birthday, this cake delivers pure, edible happiness on a plate. Happy baking!