Ultimate Tall Rainbow Layer Cake: The Best Two Layer Cake Recipe for Celebrations
Tall Rainbow Layer Cake Two Layer Cake Recipe
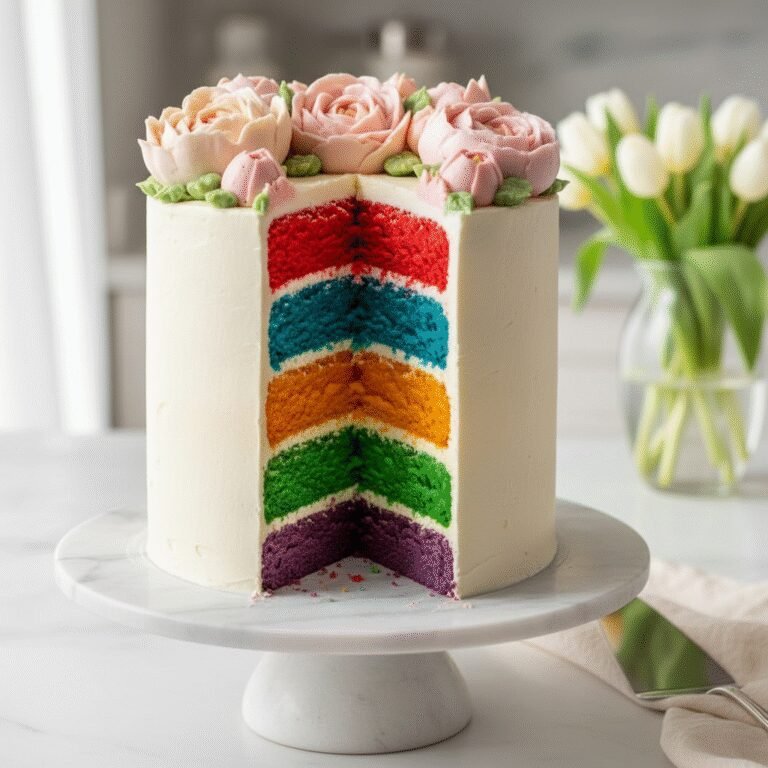
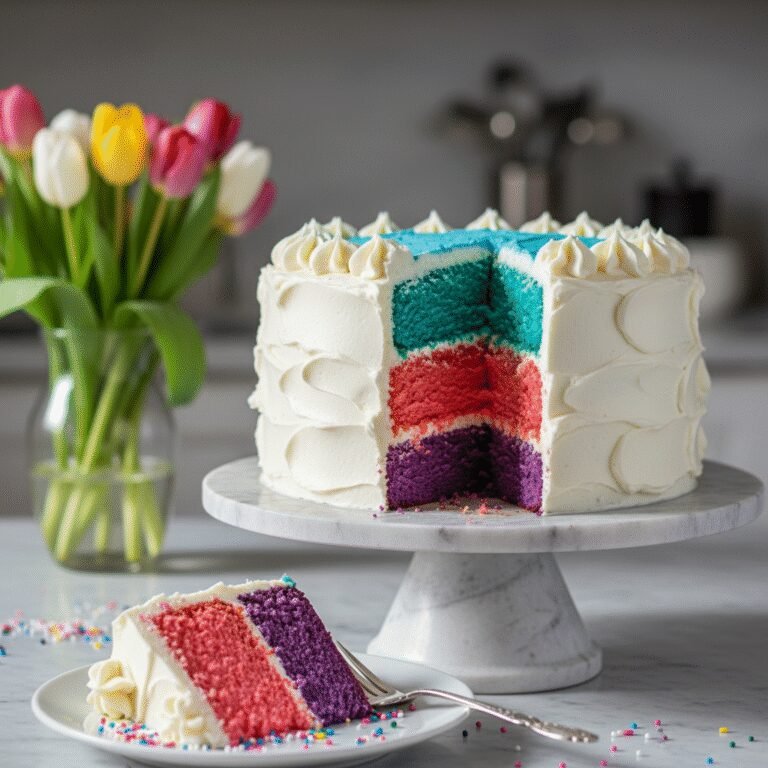
This showstopping tall rainbow layer cake features vibrant, moist vanilla bean sponge layers blanketed in silky Swiss meringue buttercream. It is the ultimate celebration dessert that looks professional but is surprisingly easy to master at home, perfect for birthdays and special occasions.
60 minutes
35 minutes
3 hours
12-16 servings
Dessert
Baking
American
Vegetarian
There are few desserts as instantly joy-inducing as a tall rainbow layer cake. Cutting into a pristine white buttercream exterior to reveal a kaleidoscope of vibrant colors is a moment of pure magic that never fails to elicit gasps of delight from guests of all ages. This recipe is designed to be the definitive guide to creating that perfect bakery-style confection right in your own kitchen. Unlike dry, dense novelty cakes, this recipe prioritizes flavor and texture just as much as visual appeal. We utilize a high-ratio vanilla bean white cake base that is tender, plush, and moist, providing the perfect neutral canvas for the vivid gel colors. The aroma of pure vanilla wafting through the kitchen is just the prelude to a dessert that tastes as spectacular as it looks. What makes this specific ‘Tall Rainbow Layer Cake Two Layer Cake Recipe’ unique is its structural integrity and manageable process. Many rainbow cakes require baking six individual thin layers, which can be time-consuming and often leads to over-baked, rubbery edges. Our approach simplifies this by baking fewer, taller cakes that are then torte-cut, or simply stacking robust layers that maintain their moisture. The result is a towering masterpiece that stands proud on any dessert table. Whether you are celebrating a child’s birthday, hosting a Pride month gathering, or simply want to inject some technicolor happiness into a gloomy weekend, this cake is your ticket to success. We pair the sweet, tender crumb with a silky, not-too-sweet Swiss Meringue Buttercream that melts on the tongue, balancing the sugar and allowing the vanilla notes to shine. Get ready to bake the most Instagram-worthy dessert of your life.
History & Origins
The concept of coloring cakes is not entirely new, dating back to the tinted luxury cakes of the Victorian era and the velvet cakes of the mid-20th century, but the modern rainbow layer cake as we know it is a distinct product of the internet age. The phenomenon truly exploded in the late 2000s and early 2010s. While multicolored cakes existed in various forms, the specific trend of six distinct, vibrant layers (Red, Orange, Yellow, Green, Blue, Purple) gained massive viral traction when food blogger Kaitlin Flannery of ‘Whisk Kid’ appeared on The Martha Stewart Show in April 2010. Her towering creation captured the imagination of the baking world, signaling a shift from traditional, subtle aesthetics to bold, graphic food styling optimized for social media sharing. Before this viral moment, home bakers rarely attempted such ambitious structural coloring, often reserving food dyes for frosting flowers or simple marbling. The rainbow cake became a symbol of baking prowess and a staple for millennial celebrations. Culturally, the rainbow cake has also been deeply embraced by the LGBTQ+ community, serving as a delicious, edible symbol of Pride, diversity, and inclusion. Over the last decade, the recipe has evolved. Early versions often relied on boxed mixes and shortening-based frostings. Today, the modern ‘Tall Rainbow Layer Cake’ represents a fusion of this whimsical aesthetic with high-end pastry techniques, utilizing premium butter-based sponges and meringue buttercreams, proving that fun food can also be fine food.
Why This Recipe Works
This recipe succeeds where many others fail because it addresses the three main pitfalls of rainbow baking: dryness, color bleeding, and structural instability. First, we use a ‘reverse creaming’ method (mixing fat into dry ingredients before adding liquids) for the batter. This coats the flour proteins in fat, inhibiting gluten formation and resulting in an incredibly velvety, flat-baking cake that doesn’t dome significantly. This is crucial for stacking multiple layers without wasting cake by trimming huge domes. Second, we rely exclusively on high-quality gel food coloring rather than liquid drops. Liquid food coloring adds excess water to the batter, which can throw off the chemistry, leading to a dense or rubbery texture. Gel pastes provide intense saturation without altering the liquid ratio. Third, this ‘Two Layer Cake Recipe’ approach—baking in two deep pans and splitting them, or using the batter volume of a two-layer cake distributed across shallow pans—ensures the layers bake evenly and quickly, retaining moisture. Finally, the Swiss Meringue Buttercream acts as the perfect cement. Unlike American buttercream, which can be crusty and overly sweet, the meringue base is stable and silky, allowing you to frost a tall cake smoothly without it sliding around or becoming cloying to eat.
Why You’ll Love This Recipe
- ✓Vibrant, distinct layers that do not fade during baking.
- ✓Uses the reverse creaming method for a tender, velvety crumb.
- ✓Stable Swiss Meringue Buttercream makes stacking easy.
- ✓Perfect balance of sweetness and vanilla flavor.
- ✓Impressive height that rivals professional bakery cakes.
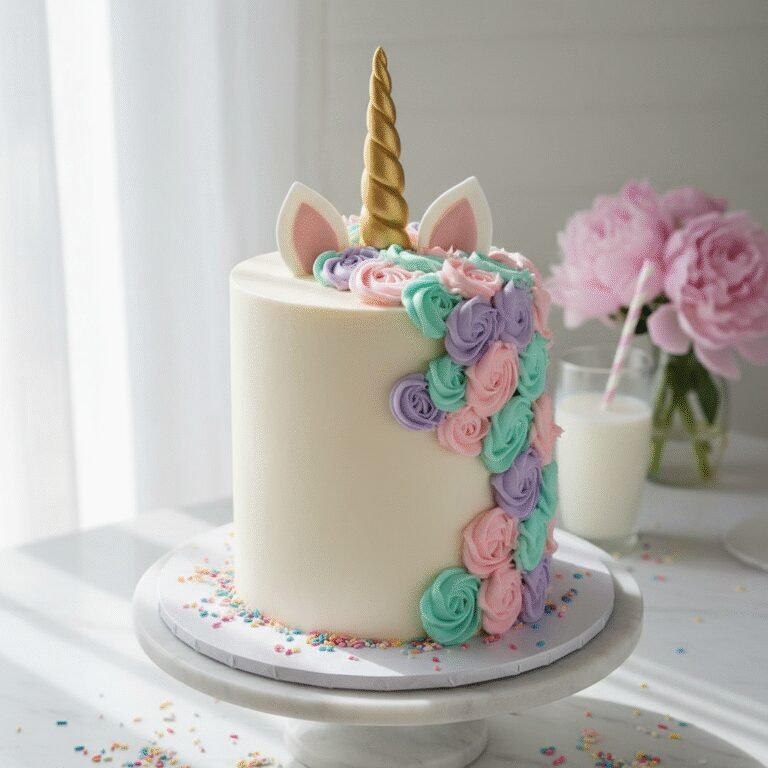
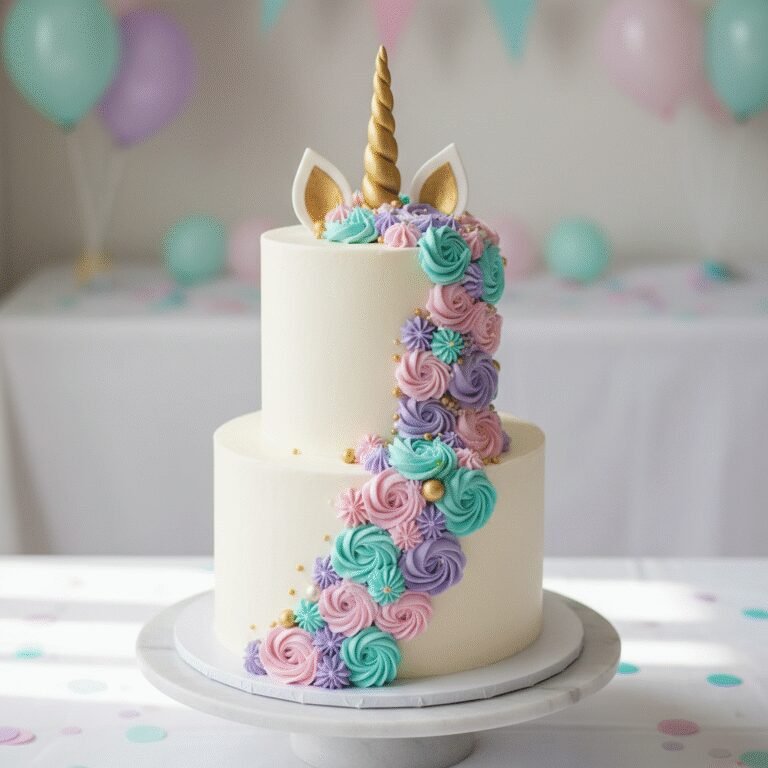
- ✓Customizable colors for any holiday or theme.
Equipment You’ll Need
- ✓Stand mixer with paddle and whisk attachments
- ✓6 or 8-inch round cake pans (minimum 2, ideally 3 or 6)
- ✓Digital kitchen scale
- ✓Gel food coloring (Red, Orange, Yellow, Green, Blue, Purple)
- ✓Small mixing bowls for coloring batter
- ✓Offset spatula
- ✓Cake turntable
- ✓Bench scraper
- ✓Piping bags
Ingredients
- ✓3 1/2 cups cake flour, sifted
- ✓2 cups granulated sugar
- ✓1 tablespoon baking powder
- ✓1 teaspoon salt
- ✓1 cup unsalted butter, room temperature, cubed
- ✓1 cup whole milk, room temperature
- ✓1/2 cup egg whites (approx 4 large eggs), room temperature
- ✓1/3 cup sour cream or greek yogurt, room temperature
- ✓1 tablespoon pure vanilla extract
- ✓Gel food colors (Super Red, Orange, Lemon Yellow, Leaf Green, Royal Blue, Violet)
- ✓FOR THE BUTTERCREAM:
- ✓8 large egg whites
- ✓2 1/2 cups granulated sugar
- ✓3 cups unsalted butter, cubed and cool
- ✓1 tablespoon pure vanilla extract
- ✓Pinch of salt
Instructions
- Preheat your oven to 335°F (168°C). Grease and line your cake pans with parchment paper rounds. If you only have 2 pans, you will bake in batches.
- In the bowl of a stand mixer fitted with the paddle attachment, combine the sifted cake flour, sugar, baking powder, and salt. Mix on low speed for 30 seconds to combine.
- Add the cubed room-temperature butter and mix on low speed until the mixture resembles damp sand and no large chunks of butter remain.
- In a separate jug, whisk together the milk, egg whites, sour cream, and vanilla extract until smooth.
- With the mixer on low, slowly pour in half of the liquid mixture. Increase speed to medium-high and beat for 2 minutes to develop some structure and aerate the batter.
- Scrape down the sides and bottom of the bowl. Add the remaining liquid in two batches, mixing on low speed just until incorporated after each addition. Do not overmix.
- Weigh the total amount of batter and divide it evenly into 6 small bowls. This ensures perfectly even layers.
- Add a small drop of gel food coloring to each bowl to create your 6 colors: Red, Orange, Yellow, Green, Blue, and Purple. Fold gently until the color is uniform.
- Pour the batter into the prepared pans. If baking in batches, keep the remaining batter at room temperature.
- Bake for 18-22 minutes, or until a toothpick inserted into the center comes out clean and the cakes spring back when lightly touched. Do not let them brown deeply.
- Allow cakes to cool in pans for 10 minutes, then turn out onto a wire rack to cool completely.
- Make the buttercream: Whisk egg whites and sugar in a heatproof bowl over a pan of simmering water. Heat until the mixture reaches 160°F (71°C) and sugar is dissolved.
- Transfer to a stand mixer with the whisk attachment. Whip on high speed until stiff glossy peaks form and the bowl feels cool to the touch (about 10-15 minutes).
- Switch to the paddle attachment. Add the cool butter cubes one at a time, mixing on low-medium speed. Once all butter is added, increase speed and whip until silky and smooth. Add vanilla and salt.
- To assemble, place the purple layer on a cake board. Spread a layer of buttercream on top. Repeat with Blue, Green, Yellow, Orange, and finally Red on top.
- Apply a thin crumb coat of frosting over the entire cake and chill for 20 minutes.
- Apply the final thick layer of frosting and smooth with a bench scraper for a professional finish.
Expert Cooking Tips
- ✓Weigh your batter: For precise, even layers, using a digital scale to divide the batter is non-negotiable.
- ✓Room temperature ingredients: Ensure butter, milk, and eggs are all at room temperature to prevent the batter from curdling.
- ✓Don’t overbake: Colored cakes can turn brown if overbaked. Keep an eye on them and check at the 18-minute mark.
- ✓Gel colors are key: Do not use liquid food coloring from the grocery store; it will water down the batter. Use concentrated gel pastes.
- ✓Chill before stacking: Chilling the layers for 20 minutes before stacking makes them firmer and easier to handle.
Substitutions and Variations
If you cannot find cake flour, you can make a substitute by removing 2 tablespoons of all-purpose flour per cup and replacing it with cornstarch, though store-bought cake flour yields the finest crumb. For the dairy, whole milk is best for richness, but 2% milk can work in a pinch; avoid skim milk. The sour cream can be replaced with plain full-fat Greek yogurt. In the buttercream, pasteurized carton egg whites can sometimes be used, but fresh egg whites generally whip up to a better volume and stability. If you are intimidated by Swiss Meringue Buttercream, a standard American Buttercream (butter and powdered sugar) works fine, though it will be much sweeter. For a dairy-free version, use high-quality plant-based butter sticks, but ensure they are firm at room temperature.
Common Mistakes to Avoid
The most common mistake is overmixing the batter after adding the wet ingredients, which leads to a tough, rubbery cake with tunneling holes. Stop mixing as soon as the ingredients are combined. Another error is using too much food coloring; gel pastes are potent, so start with a small amount and add more only if needed to avoid a chemical aftertaste. Failing to level the cakes is also a frequent issue; even if they bake relatively flat, trimming the top skin off ensures the layers stack straight and the interior looks seamless. Finally, rushing the cooling process will melt your buttercream; ensure the cakes are completely cool, or even chilled, before frosting.
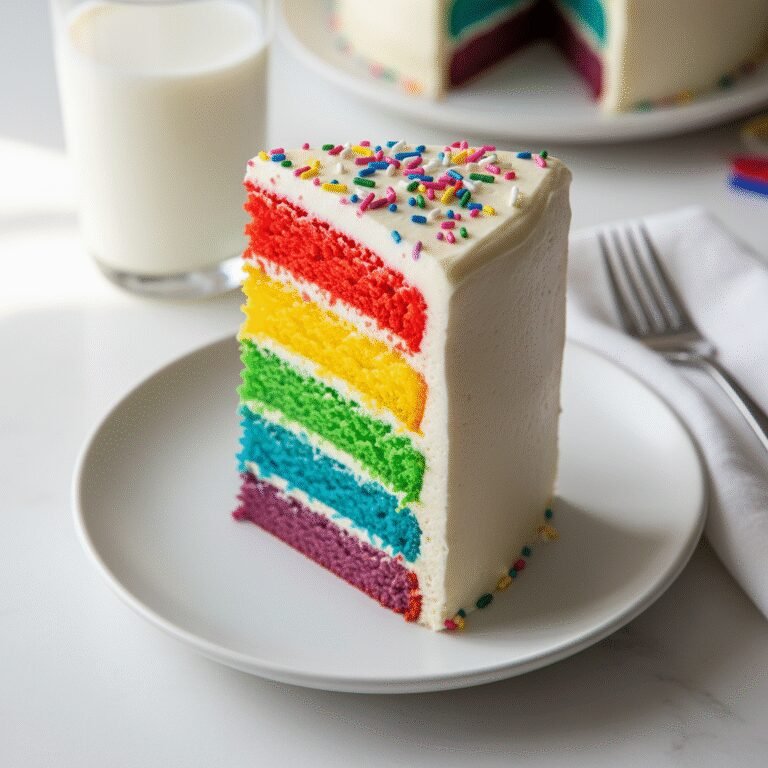
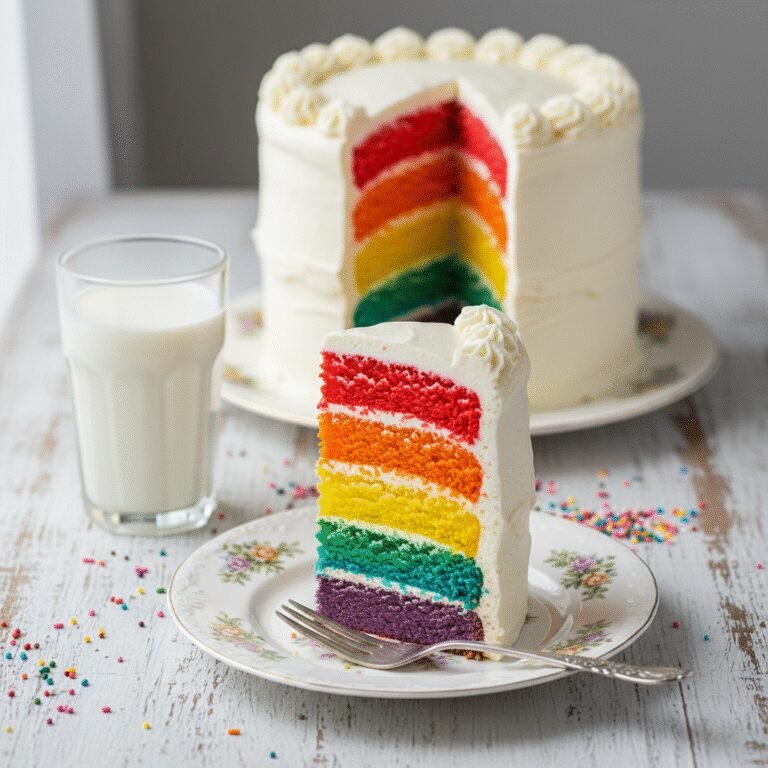
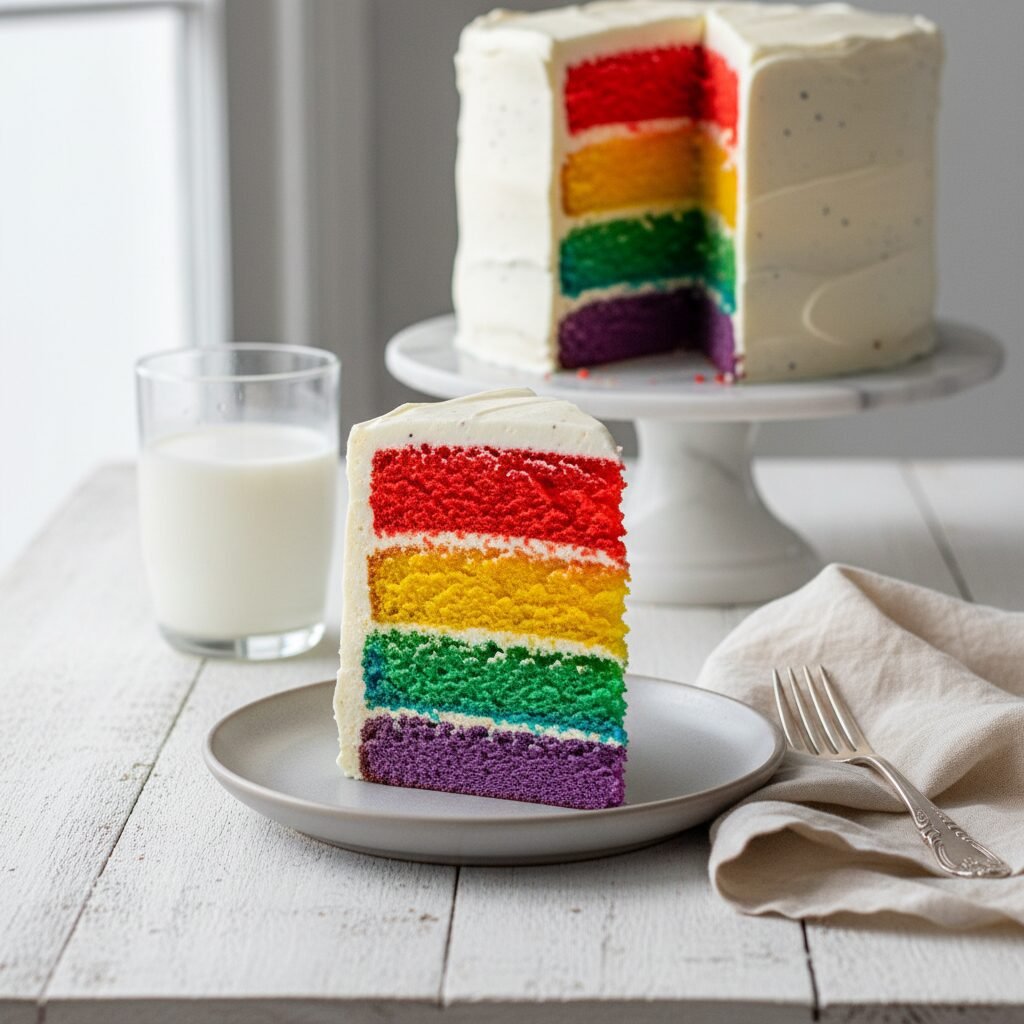
Serving Suggestions
This tall rainbow cake is a showstopper that needs little embellishment. Serve it on a simple white cake stand to let the colors pop. Slice the cake while it is slightly chilled for the cleanest cuts, but allow the slices to come to room temperature before eating for the best texture and flavor. A tall glass of cold milk is the classic accompaniment to balance the sweetness. For a birthday, top with tall, slender candles or a simple ‘Happy Birthday’ topper. If you have leftover frosting, pipe swirls on top and finish with rainbow sprinkles.
Storage and Reheating Tips
Store the frosted cake at room temperature for up to 2 days, provided the kitchen is not hot. The sugar and fat content keep it safe. For longer storage, refrigerate the cake for up to 5 days. The cold will harden the buttercream, so allow the cake to sit at room temperature for at least an hour before serving to soften. Cut slices can be wrapped individually in plastic wrap and placed in an airtight container. You can also freeze the cake layers (unfrosted) for up to 3 months; wrap them tightly in plastic wrap and then foil. Thaw in the refrigerator overnight before assembling.
Nutrition Facts (Estimated)
| Serving Size | 1 slice |
| Calories | 650 |
| Fat | 34g |
| Saturated Fat | 20g |
| Unsaturated Fat | 12g |
| Trans Fat | 1g |
| Cholesterol | 95mg |
| Sodium | 320mg |
| Carbohydrates | 80g |
| Fiber | 1g |
| Sugar | 45g |
| Protein | 6g |
Frequently Asked Questions
Can I bake all the layers at once?
Only if you have enough cake pans and oven space. Most home ovens can fit 2-3 pans on one rack. It is better to bake in batches than to overcrowd the oven, which causes uneven baking.
Can I use all-purpose flour instead of cake flour?
Yes, but the texture will be slightly denser and more bread-like. Cake flour has less protein, ensuring a tender, melt-in-your-mouth crumb.
Why did my colors turn brown?
Browning usually occurs due to overbaking or an oven that is too hot. Use an oven thermometer to verify the temperature and consider covering the cakes with foil for the last few minutes if they brown too quickly.
Can I make the layers in advance?
Absolutely. Baking the layers a day ahead is actually recommended. Wrap them in plastic wrap once cool and leave them at room temperature or in the fridge. This makes them easier to stack.
How do I get the frosting so smooth?
The secret is a crumb coat (a thin first layer of frosting to trap crumbs), chilling the cake, and then applying a thick final coat using a metal bench scraper while rotating the turntable.
Does this cake taste like vanilla or fruit?
This is a classic vanilla bean cake. The colors are purely aesthetic and do not add flavor. You can add fruit extracts if you wish, but vanilla is the crowd-pleaser.
Can I halve the recipe?
Yes, you can halve the ingredients to make a shorter 3-layer rainbow cake, or use smaller 6-inch pans to maintain the height with less batter.
What if I don’t have a stand mixer?
You can use a hand mixer, but be prepared for a workout, especially with the Swiss Meringue Buttercream which requires 10-15 minutes of continuous whipping.
Conclusion
Creating this Ultimate Tall Rainbow Layer Cake is a labor of love that pays off tenfold in smiles and satisfaction. It transforms a standard baking afternoon into an artistic endeavor, resulting in a centerpiece that is as delicious as it is beautiful. By following this detailed guide, you are guaranteed a sturdy, moist, and vibrant cake that rivals any high-end bakery. So, gather your most colorful gels, preheat that oven, and get ready to slice into a little piece of edible happiness. Happy baking!