The Ultimate Moist Chocolate Sheet Cake For Picnic Recipe: A Crowd-Pleasing Classic
Moist Chocolate Sheet Cake For Picnic Recipe
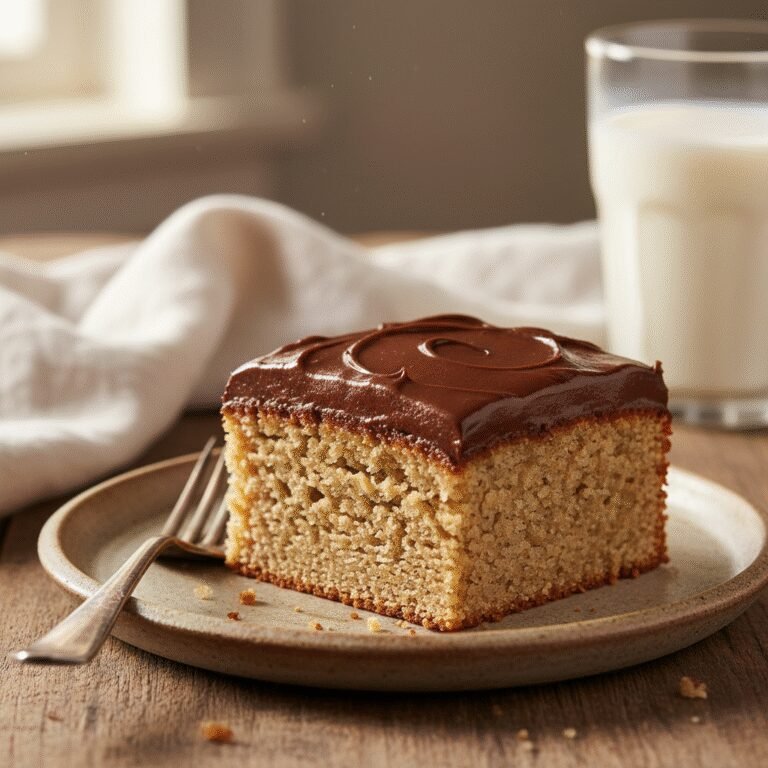
This incredibly moist chocolate sheet cake is the undisputed champion of picnic desserts. With a rich, fudgy base and a decadent warm-poured icing that sets into a perfect seal, it travels beautifully and feeds a crowd without the fuss of layer cakes.
20 minutes
20 minutes
45 minutes
24 servings
Dessert
Baking
American
Vegetarian
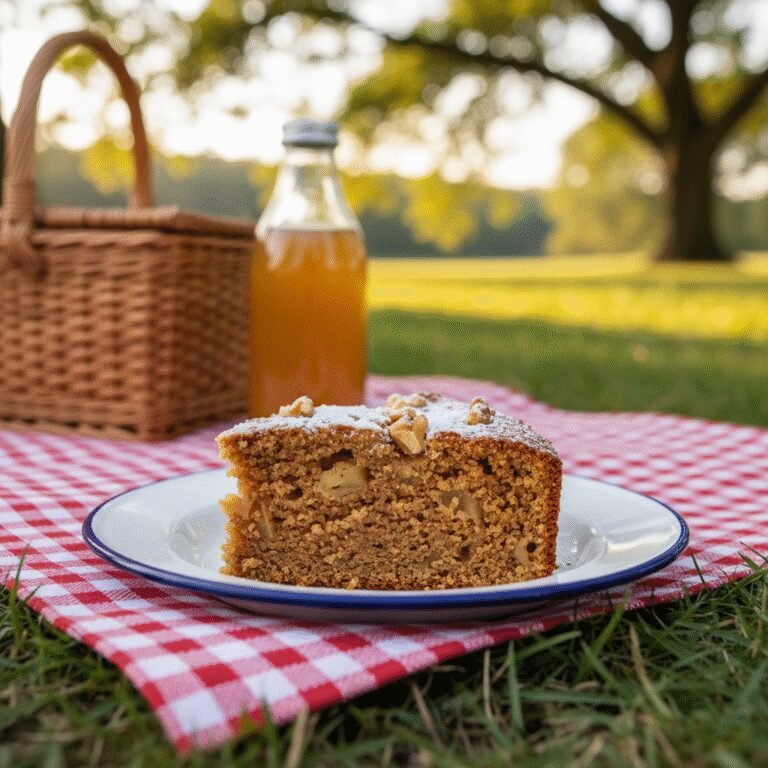
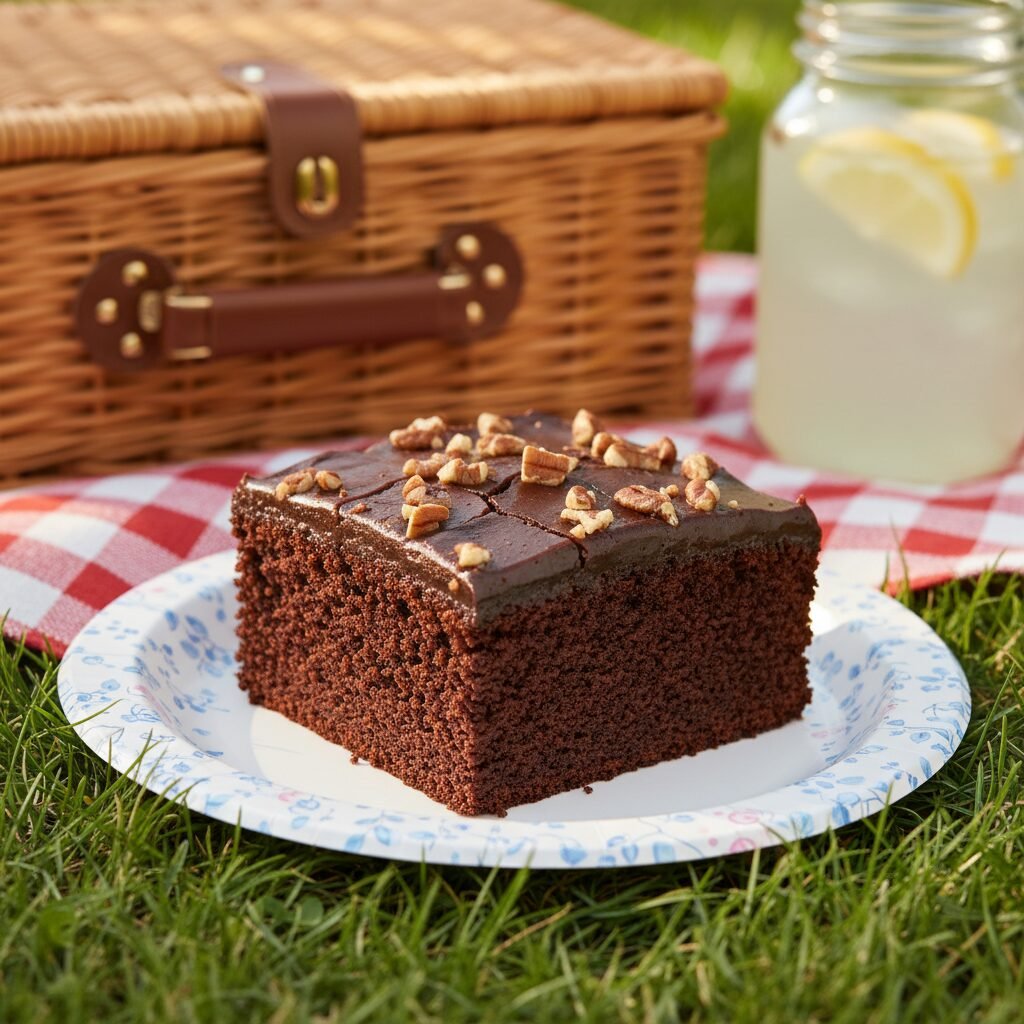
When the sun is shining and the checkered blankets are spread out on the grass, the last thing you want to worry about is a high-maintenance dessert. Enter the Moist Chocolate Sheet Cake, often affectionately known as Texas Sheet Cake. This isn’t just a cake; it is a nostalgic embrace of chocolate goodness that seems to defy the laws of baking physics. How can something so easy to make taste this complex and rich? The magic lies in the technique and the sheer volume of surface area, ensuring every single bite has the perfect ratio of tender crumb to sweet, fudgy frosting. Unlike delicate cupcakes that topple over in the car or fruit pies that require a balancing act to serve, this sheet cake stays humble in its pan, ready to be sliced into generous squares for hungry picnic-goers.
For this specific recipe, we are focusing on moisture retention. Picnics often mean the food sits out for a bit, and nothing is worse than a dry slice of cake. By utilizing the boiling water method—a technique where boiling water or coffee is mixed with cocoa and butter before hitting the flour—we bloom the chocolate flavor and ensure a batter that remains incredibly tender after baking. The addition of buttermilk brings a subtle tang that cuts through the sweetness, creating a flavor profile that is deep, dark, and utterly addictive. Whether you are hosting a backyard barbecue, heading to the park for a potluck, or just craving a low-effort, high-reward chocolate fix, this sheet cake is about to become your go-to recipe. It is the kind of dessert that has people asking for the recipe before they have even finished their slice.
History & Origins
The history of the chocolate sheet cake is as rich and layered as the dessert itself, though its precise origins are often debated among food historians. Most commonly associated with the American South, and specifically Texas, this style of cake surged in popularity during the mid-20th century. Often called ‘Texas Sheet Cake,’ many believe the name comes simply from the size of the cake—it is as big as Texas—baked in a large 13×18 inch jelly roll pan. Others suggest it gained the moniker after a recipe was published in a Texas newspaper, quickly becoming a staple at church potlucks, funeral receptions, and community picnics due to its high yield and transportability.
However, the roots of the recipe likely go back further. The method of melting butter and water together before adding dry ingredients is reminiscent of older boiled icing recipes or ‘war cakes’ from the early 1900s that utilized simple pantry staples. In the 1960s, recipe cards for ‘Sheath Cake’ began appearing, which some linguists believe was a mishearing of ‘Sheet Cake,’ though others argue it referred to the way the icing ‘sheathes’ the cake. Regardless of the specific etymology, the cultural significance is undeniable. In the post-war era of convenience cooking, a cake that required no mixer, baked in 20 minutes, and frosted while hot was a revelation for busy homemakers. It became a symbol of hospitality—a way to feed a multitude with minimal effort but maximum flavor. Today, it remains a beloved classic, representing the comfort and community of shared meals.
Why This Recipe Works
This recipe succeeds where others fail due to three critical scientific principles: the blooming of the cocoa, the specific fat-to-flour ratio, and the thermal sealing of the frosting. First, we employ the ‘boiling liquid’ method. By mixing boiling water with unsweetened cocoa powder and butter, we dissolve the cocoa solids completely. This ‘blooms’ the chocolate, releasing its full aromatic potential and ensuring the cake has a profound chocolate intensity rather than a dusty cocoa taste. It also melts the butter, which coats the flour proteins (gluten) more effectively than creamed butter, resulting in a shorter, more tender crumb.
Secondly, the inclusion of buttermilk and baking soda creates a reaction that not only leavens the cake but also tenderizes the gluten network. The acidity in the buttermilk breaks down long protein strands, ensuring the cake remains soft and moist rather than chewy or tough. Finally, and perhaps most importantly, is the frosting technique. Unlike traditional cakes where you must wait for the layers to cool completely, this recipe demands that you pour hot frosting over the hot cake. This allows the bottom layer of the frosting to melt slightly into the porous surface of the cake, creating a gooey, fudgy interface that bonds the two together. As the frosting cools, it forms a thin, sugary crust on top that acts as a barrier, locking the steam and moisture inside the cake. This ‘seal’ is why this cake stays fresh and moist for days, making it the ultimate make-ahead candidate for picnics.
Why You’ll Love This Recipe
- ✓Feeds a Crowd: Easily yields 20-24 servings, perfect for large gatherings.
- ✓Travels Well: Stays in the pan, so no sliding layers or smashed frosting.
- ✓Stays Moist: The hot-on-hot frosting technique locks in moisture for days.
- ✓No Mixer Needed: Can be made entirely with a saucepan and a whisk.
- ✓Quick Bake Time: Ready in under 25 minutes due to the thin batter and large pan.
Equipment You’ll Need
- ✓13×18 inch Jelly Roll Pan (Rimmed Baking Sheet)
- ✓Medium Saucepan
- ✓Large Mixing Bowl
- ✓Whisk
- ✓Rubber Spatula
- ✓Measuring Cups and Spoons
- ✓Offset Spatula
Ingredients
- ✓2 cups all-purpose flour
- ✓2 cups granulated sugar
- ✓1 tsp baking soda
- ✓1/2 tsp salt
- ✓1 cup unsalted butter (2 sticks)
- ✓1 cup water
- ✓1/4 cup unsweetened cocoa powder
- ✓1/2 cup buttermilk, room temperature
- ✓2 large eggs, room temperature
- ✓1 tsp vanilla extract
- ✓FOR THE FROSTING:
- ✓1/2 cup unsalted butter (1 stick)
- ✓1/4 cup unsweetened cocoa powder
- ✓1/3 cup whole milk
- ✓1 tsp vanilla extract
- ✓3 cups powdered sugar, sifted
- ✓1 cup chopped pecans (optional)
Instructions
- Preheat your oven to 350°F (175°C). Grease a 13×18 inch jelly roll pan (rimmed baking sheet) generously with butter or non-stick spray.
- In a large mixing bowl, whisk together the flour, granulated sugar, baking soda, and salt. Set aside.
- In a medium saucepan over medium-high heat, combine 1 cup of butter, 1 cup of water, and 1/4 cup cocoa powder. Whisk constantly until the mixture comes to a rolling boil.
- Remove the saucepan from the heat immediately and pour the hot mixture over the dry ingredients in the large bowl. Whisk until just combined and smooth.
- In a small separate bowl or measuring cup, whisk together the buttermilk, eggs, and vanilla extract.
- Pour the buttermilk mixture into the chocolate batter and whisk gently until fully incorporated and the batter is uniform. It will be thin.
- Pour the batter into the prepared jelly roll pan and spread it evenly to the corners using a spatula.
- Bake for 18-22 minutes, or until a toothpick inserted into the center comes out clean. Do not overbake.
- While the cake is in the final 5 minutes of baking, make the frosting. Clean your saucepan and melt 1/2 cup butter over medium heat.
- Whisk in 1/4 cup cocoa powder and the milk. Cook, stirring constantly, until the mixture begins to simmer. Remove from heat.
- Whisk in the vanilla extract and the powdered sugar. Whisk vigorously to remove any lumps. If using pecans, fold them in now.
- Remove the cake from the oven and immediately pour the hot frosting over the hot cake. Use an offset spatula to spread it gently to the edges.
- Allow the cake to cool completely in the pan before slicing. The frosting will set into a soft fudge-like layer.
Expert Cooking Tips
- ✓Sift the powdered sugar for the frosting to ensure a silky smooth texture without white lumps.
- ✓Don’t skip the buttermilk; if you don’t have it, make a substitute with milk and vinegar, as the acid is crucial for the baking soda.
- ✓Time the frosting perfectly; it needs to be ready the moment the cake comes out of the oven for that signature fudge layer.
- ✓Use a rimmed baking sheet (jelly roll pan), not a standard cookie sheet, or the batter will overflow.
- ✓Toast the pecans beforehand if you are using them; it adds a deeper, nuttier crunch that contrasts well with the sweet frosting.
- ✓Room temperature eggs incorporate better into the batter, preventing the butter from seizing up when mixed.
Substitutions and Variations
This recipe is quite forgiving with substitutions, though the texture may vary slightly. If you do not have buttermilk, you can make a ‘sour milk’ by adding one tablespoon of lemon juice or white vinegar to a scant cup of regular milk and letting it sit for 5 minutes. Alternatively, watered-down sour cream or plain yogurt works well to provide the necessary acidity and fat. For a coffee-infused flavor that enhances the chocolate, substitute the 1 cup of water in the cake batter with 1 cup of hot, strong brewed coffee. If you are gluten-free, a high-quality 1-to-1 gluten-free flour blend usually works very well in this recipe because the cake relies on the eggs and chemical leavening more than gluten structure. For the nuts, walnuts are a classic alternative to pecans, but you can omit them entirely for a nut-free version without affecting the baking chemistry. If you only have salted butter, simply omit the added salt in the dry ingredients.
Common Mistakes to Avoid
The most common mistake with Texas Sheet Cake is overbaking. Because the cake is so thin, it cooks very quickly. Even a few extra minutes can turn a moist masterpiece into a dry sponge. Start checking at the 18-minute mark. Another pitfall is letting the cake cool before frosting. The unique texture of this dessert comes from the interaction between the hot cake and the hot frosting; if the cake cools, the frosting will just sit on top rather than melding with the surface. Additionally, failing to sift the powdered sugar is a frequent error that results in lumpy, unattractive frosting. Lastly, ensure your baking soda is fresh; since this cake relies heavily on the reaction between soda and buttermilk for lift, expired leavening will result in a dense, rubbery slab.
Serving Suggestions
This cake is incredibly rich, so it is best served in modest squares. For a picnic setting, it serves perfectly as-is, eaten by hand or with a fork on a paper plate. If you are serving this at a sit-down dinner or want to elevate the experience, a scoop of high-quality vanilla bean ice cream is the traditional accompaniment. The cold, creamy ice cream melting against the rich chocolate is divine. Fresh berries, such as raspberries or strawberries, also add a nice tart contrast to the sweetness. For beverage pairings, a cold glass of milk is classic, but hot coffee or a dark stout beer also pairs wonderfully with the deep cocoa notes.
Storage and Reheating Tips
One of the best features of this cake is its shelf life. It can be stored at room temperature, covered tightly with plastic wrap or foil, for up to 3-4 days. In fact, many argue it tastes even better on the second day as the flavors meld. If you are in a very hot or humid climate, you might want to store it in the refrigerator to prevent the frosting from melting, but bring it to room temperature before serving for the best texture. This cake also freezes exceptionally well. You can freeze individual slices wrapped in parchment and foil, or freeze the whole sheet in the pan (if you have the freezer space). Thaw on the counter for a few hours before serving.
Nutrition Facts (Estimated)
| Serving Size | 1 square |
| Calories | 320 |
| Fat | 16g |
| Saturated Fat | 9g |
| Unsaturated Fat | 6g |
| Trans Fat | 0g |
| Cholesterol | 45mg |
| Sodium | 180mg |
| Carbohydrates | 42g |
| Fiber | 1g |
| Sugar | 28g |
| Protein | 4g |
Frequently Asked Questions
Can I halve this recipe?
Yes, you can halve the recipe and bake it in a 9×13 inch pan. The baking time may need to be adjusted slightly, likely around 20-25 minutes, as the batter might be slightly thicker depending on the exact dimensions of your pan.
Why is my frosting grainy?
Grainy frosting usually happens if the sugar didn’t dissolve properly or if the powdered sugar wasn’t sifted. Make sure the butter and milk mixture is hot when you add the sugar, and whisk vigorously.
Can I use Dutch-processed cocoa?
Yes, you can, but keep in mind that Dutch-processed cocoa is not acidic. Since this recipe uses baking soda (which needs acid to activate), relying solely on the buttermilk for acid is usually fine, but natural cocoa powder is the traditional choice for the best rise and flavor balance.
Do I have to use nuts?
Absolutely not. While pecans are traditional in Texas Sheet Cake, they are completely optional. If you omit them, you might want to add a sprinkle of sea salt on top of the frosting for texture and contrast.
Can I make this in a glass pan?
It is not recommended. Glass conducts heat differently than metal. This recipe is designed for a metal jelly roll pan. If you must use glass (likely a 9×13 for a half batch), lower the oven temperature by 25°F and watch the baking time closely.
Why did my cake overflow?
You likely used a standard cookie sheet instead of a jelly roll pan. A jelly roll pan has a 1-inch rim. A flat cookie sheet cannot contain the batter.
Can I use oil instead of butter?
You can, but you will lose the rich, buttery flavor that defines this cake. If you swap, use a neutral oil like vegetable or canola, but butter is highly recommended for the authentic taste.
How do I transport this for a picnic?
Leave the cake in the pan! Once the frosting has set (about an hour), you can cover the pan with the plastic lid if it came with one, or tent it with aluminum foil. It is very sturdy once cool.
Conclusion
There is a reason this Moist Chocolate Sheet Cake has graced picnic tables for decades. It is the definition of a crowd-pleaser: unpretentious, reliable, and spectacularly delicious. The ease of preparation combined with the transport-friendly nature makes it the ultimate outdoor dessert. Whether you are celebrating a birthday in the park, hosting a family reunion, or just enjoying a sunny afternoon on a blanket, this cake brings a sense of comfort and joy that few other desserts can match. So grab your saucepan, preheat your oven, and get ready to be the hero of your next picnic. Just don’t expect to bring any leftovers home!